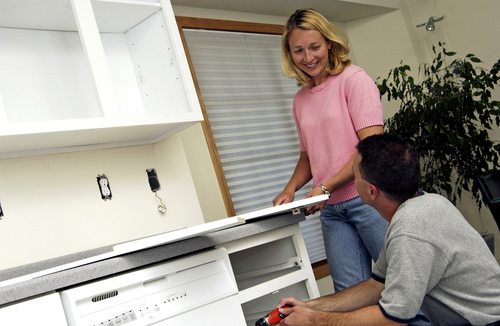
Tips For Installing Box Cabinets In Your Home

Kitchen cabinets can be expensive and screwing up the installation will make the project even more expensive. In order to make installing basic box cabinets easier for DIYers, the following tips have been gathered from experienced professionals to help you get the job done.
These tips will save job time and help prevent mistakes that could cost you money.

The Installation of Your New Box Cabinets
Once you’ve purchased the cabinets and brought them home, the first step in installing them is to mark the layout. To do this you measure from the highest floor point and mark that line, which is the top of the base cabinets. From that line, measure 19 1/2” above it and mark the line for the bottom of your upper cabinets.
Label where appliances will go by marking the wall. Also draw a line vertically to show where your first cabinet will be installed. After marking all the layout lines, mark where the studs are to make attaching the cabinets to the wall easier.
Before attaching cabinets to the walls or floors, all shelving, drawers, and doors should be removed to make installation easier. Door location can be marked in pencil or on tape attached to the door. Pencil marks above hinge before removing them will help put them back in when it’s time to You don’t want to have to shim the cabinets as you go.
It can be done, but if the bow in the wall is worse than 3/8”, you should shim it before the cabinets are hung. If the shimming isn’t done first for extreme bows, you could potentially pull the back off of the cabinets when attaching them to the wall.
To shim the wall, hold a level across the wall and slide a shim in place under the level where needed. Tape or pin the shim into place once it’s snug.
Hang the upper cabinets first. Upper cabinets are easier to attach when you don’t have to lean over the base cabinets. First attach a ledger board so that you have something to rest the bottom of your upper cabinets on when you’re screwing them into the wall.
Attaching Cabinets to One Another
When attaching two cabinets together, line up the frames that face the cabinets and then clamp them together. Make sure the face frames are flush before clamping them. Attach the cabinets to the wall. You might need to loosen the screws on one of the cabinets after securing them to the wall to make sure the face of the cabinets remain flush.
If the faces line up properly, predrill a 1/8” hole into them and screw them together through the face frame wit a 21/2” screw. Drill the screw in the cabinet where the screw head will be noticed the least.
If you want to ensure that the wood on the inside of your upper cabinet stays in good shape before you install them, predrill small holes where the studs will be. Mark the stud locations on the inside of your cabinets and predrill small holes where the screws need to be driven through. Mark the stud locations at the top and bottom of the nailing strip with a pencil and continue.
When installing the base cabinets you should fasten them to the back of the wall before any skimming is done. Make sure the base cabinets are lined up with the level marks you placed on the wall. Then fasten the back of the cabinets to the wall. Once you have the backs of the cabinets level with the wall, you need to level the sides by using shims.
It’s very important that you take your time to ensure this is done properly so that the countertops are level.
Kitchen Islands
If you are installing cabinets that make an island in the kitchen, they will need to be secured to the floor so they don’t move. First secure them together if they’re more than one piece and set them where they need to be. Trace around the cabinets so that you have a layout to work with. Attach 2”x2”s to the floor 1/2” inside the traced line. After attaching the 2”x2”s, screw the cabinets into the 2”x2”s to
Flooring Concerns
If at some point you change your flooring to hardwood or tile, you’ll need to raise the cabinets off of the floor or your dishwasher will no longer fit. You’ll need to get blocks of wood that will represent the new height after the flooring is put in place and then mark guidelines for the new cabinet placement. Any island in the kitchen will also need to be raised.
For cabinets that will need holes cut in the back for water lines and drainage, don’t try to cut the holes for exact fits around the pipes. If you cut the holes big, it will be easier to slide the cabinets into place. Besides the holes aren’t visible once the cabinet is filled with cleaning supplies.
License: Royalty Free or iStock
source: http://www.shutterstock.com/pic-34323715/stock-photo-couple-installing-kitchen-cabinet.html
My name is Brian and I write about DIY home improvement projects and ways to add more value to your house, such as kitchen remodeling, landscaping, and installing Monroe flooring.
