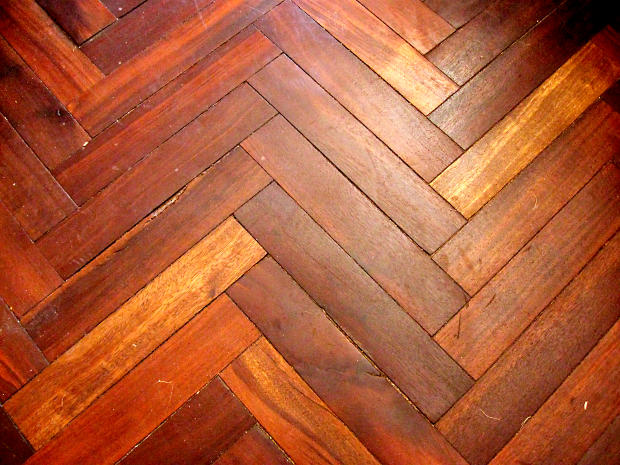
The Quick DIY Guide To Sanding Hardwood Floors

When you first moved into your house, you probably were already formulating plans on what you’d remodel, replace and refurbish. You also knew you’d prefer to tackle the job of fixing everything up on your own. You may have found that your hardwood floors needed to be spruced up or maybe a previous owner didn’t take care of them properly. Whatever the case, sanding and refinishing hardwood floors is a task that can be done by anyone with the right knowledge and preparation. Before you dive in, a few pointers will make the process go smoothly, and in the end you’ll have something you’ll be proud of, as well as a great improvement to your home.

Follow this step-by-step process for sanding your hardwood floors and get them looking brand new.
Gather all the equipment and supplies you’ll need. Making sure you have everything at the outset will make the process much easier and ensure that you do a quality job. The equipment you’ll need will depend on the space you’ll be working on, whether it will be a few rooms, a single room, or the floors throughout your entire house. This means having a quality belt sander or drum sander, an edger and plenty of sandpaper belts and discs to get the job done. The grade of sandpaper you’ll need will depend on the shape your floors are in. If they’re pretty weathered and old, you’ll need something with a low number, but if it won’t be too intense, a higher grade will do the trick.
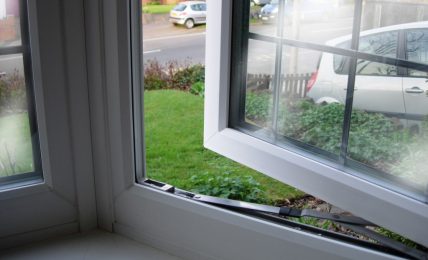
You’ll also need to have plenty of supplies for cleaning up, along with eye protection, a dust mask and possibly some ear plugs. The sawdust you’ll create will get everywhere, so keeping it contained will prevent you from finding traces of dust around the house for days after you’ve finished. Sealing up door and window cracks will be a crucial step. You’ll also want to review any handbooks on the equipment to prevent any injuries to yourself or the floors themselves. Plus, you’ll need to pick up a paint brush or roller and varnish for when you’ve finished sanding.
Whether you’re using a drum sander or belt sander, you’ll want to sand the floors down to the bare wood in a smooth, even cut. Be sure to never sand against the grain. Often, three passes with a drum or belt sander will do the trick. An edger can help you sand the areas close to the wall that the larger equipment won’t be able to reach. Once you’ve accomplished a good sanding, you’ll need to go over the wood with high-grade sandpaper to smooth everything down. It’s also not a bad idea to go over the floor a third time with a piece of steel wool to ensure that the surface is smooth and looking great.
Sanding floors is a task where the clean-up can be more of a chore than the work itself. Even if you’re working in a small area, you’ll be amazed at how much dust you’ll create. A vacuum will come in handy, but if you have a powerful Shop-Vac, that’s all the better. You’ll want to not only do a thorough job cleaning up the sawdust, but even after vacuuming, it’s best to use a tack cloth. This is a sticky hand towel that’s perfect for picking up the last remnants of dust that will hide in the cracks of the floorboards and in nooks and crannies all over the room. A good hardware store will carry tack cloths, and you may need a package or two of them (they can be handy for cleaning up after other projects as well). Making sure you’ve got all the dust up will allow the floors to look great when they’re all finished, with no visible traces of dust beneath the varnish later.
Now that you have a lot of bare wood in front of you, it’s time to get it looking sharp. Your choice of stain will depend on the kind of look and color you have in mind. The varnish will likely be an oil-based stain, so you’ll need to have some compatible paint remover for cleaning your brushes or roller. Doing two coats will give you a great color and help protect the floors as well, but many recommend a third coat as well. You’ll need to let them dry for at least a day before you bring furniture in.
At this point, you can do any final clean-up and prepare to move furniture back in. Keep in mind that in a couple of years, adding a new coat of finish will keep the floors looking great, without showing their age or looking worn.
Now that the task’s been completed, whenever friends or family come over, you can brag about your work, and they can be suitably impressed by the improvement you’ve made. Whether you’ve sanded a single room or every room in the house, you’ll have something that will look great but also be resilient and long-lasting.