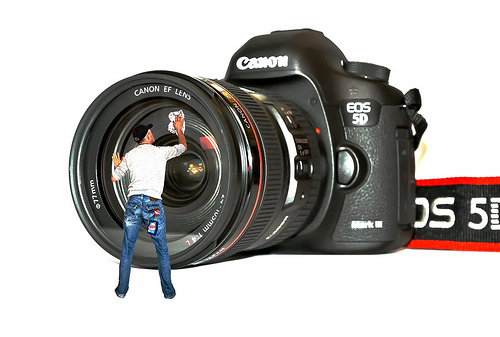
Properly Cleaning Your Camera Lens

Using digital cameras means good housekeeping will be necessary, unless you plan on buying new lenses every month.
Due to sensitive materials within your lens, properly cleaning them means you’ll need specific materials, methods and patience – along with proper storage afterwards.
Cleaning doesn’t take nuclear physics classes or paratrooper equipment,
yet using the wrong supplies may immediately tarnish lens longevity forever since electronics actually exist inside your lens which are easily damaged with imprudent chemicals.

Pros will always have UV filters, preferably Hoya, to protect dust or other airborne threats from ruining internal elements.
Should you forget this intricacy, fear not: blower brushes are relatively affordable, easy to use and knock about 99.9% of your dust problems away in seconds.
Both front and rear elements are susceptible to dust bunnies, and should be blasted with this air brush tool.
Fully extending your zoom lens will allow for careful particle removal with your wonder tool.
For tougher jobs, breaking out your fiber cloths would allow camera owners to clean their lenses without excessive smudging.
Aside from removing whatever remaining dust particles the blower brush didn’t get, moisture can be removed easily with these cloths.
It’s suggested that no chemicals are applied to the cloths, or lenses, before wiping as the texture of microfiber will provide enough fingerprint removal without chemical aids.
Wiping in circular motions instead of aimlessly around your lens will assure long-term beautification of your lenses.
For rough jobs, special lens cleaners are available for light use.
Instead of directly applying these fluids to your expensive lens, you’ll apply several drops onto your microfiber cleaning cloth and wipe circularly.
Though fluids are always used to ‘shine’ lenses and lens filters, approved cleaning agents can make your camera lens immediately free of dust particles or gritty substances one cannot identify.
Many fluids, along with aforementioned items, are available in kits which can be stowed away safely in camera bags.
Priced affordably, packing these kits for long stints of field photography assignments would prove beneficial.
Frugal spenders – you know, the ones that dropped $6k on a new camera yet refuse to upgrade their washing machines – have developed the “Poor Man’s Guide to Cleaning A Camera Lens”
which I will briefly run through in case money is tight. Note that this won’t work 100% of the time:
Please note that, under normal circumstances, individuals aren’t willing to risk damaging their camera just to save $20 bucks.
For those living off instant noodles shortly after financing your camera purchase, the life hacking method may prove useful.
Just don’t take it too far and attempt to eliminate dust by spraying Windex directly on your lens. That’s a huge no-no.
License: Creative Commons
image source
Roger Klawinski is a freelance writer and gadget guru from Indiana who keeps up-to-date on new camera equipment at Photo.net/reviews/.