Help Your Kids Design Rangoli
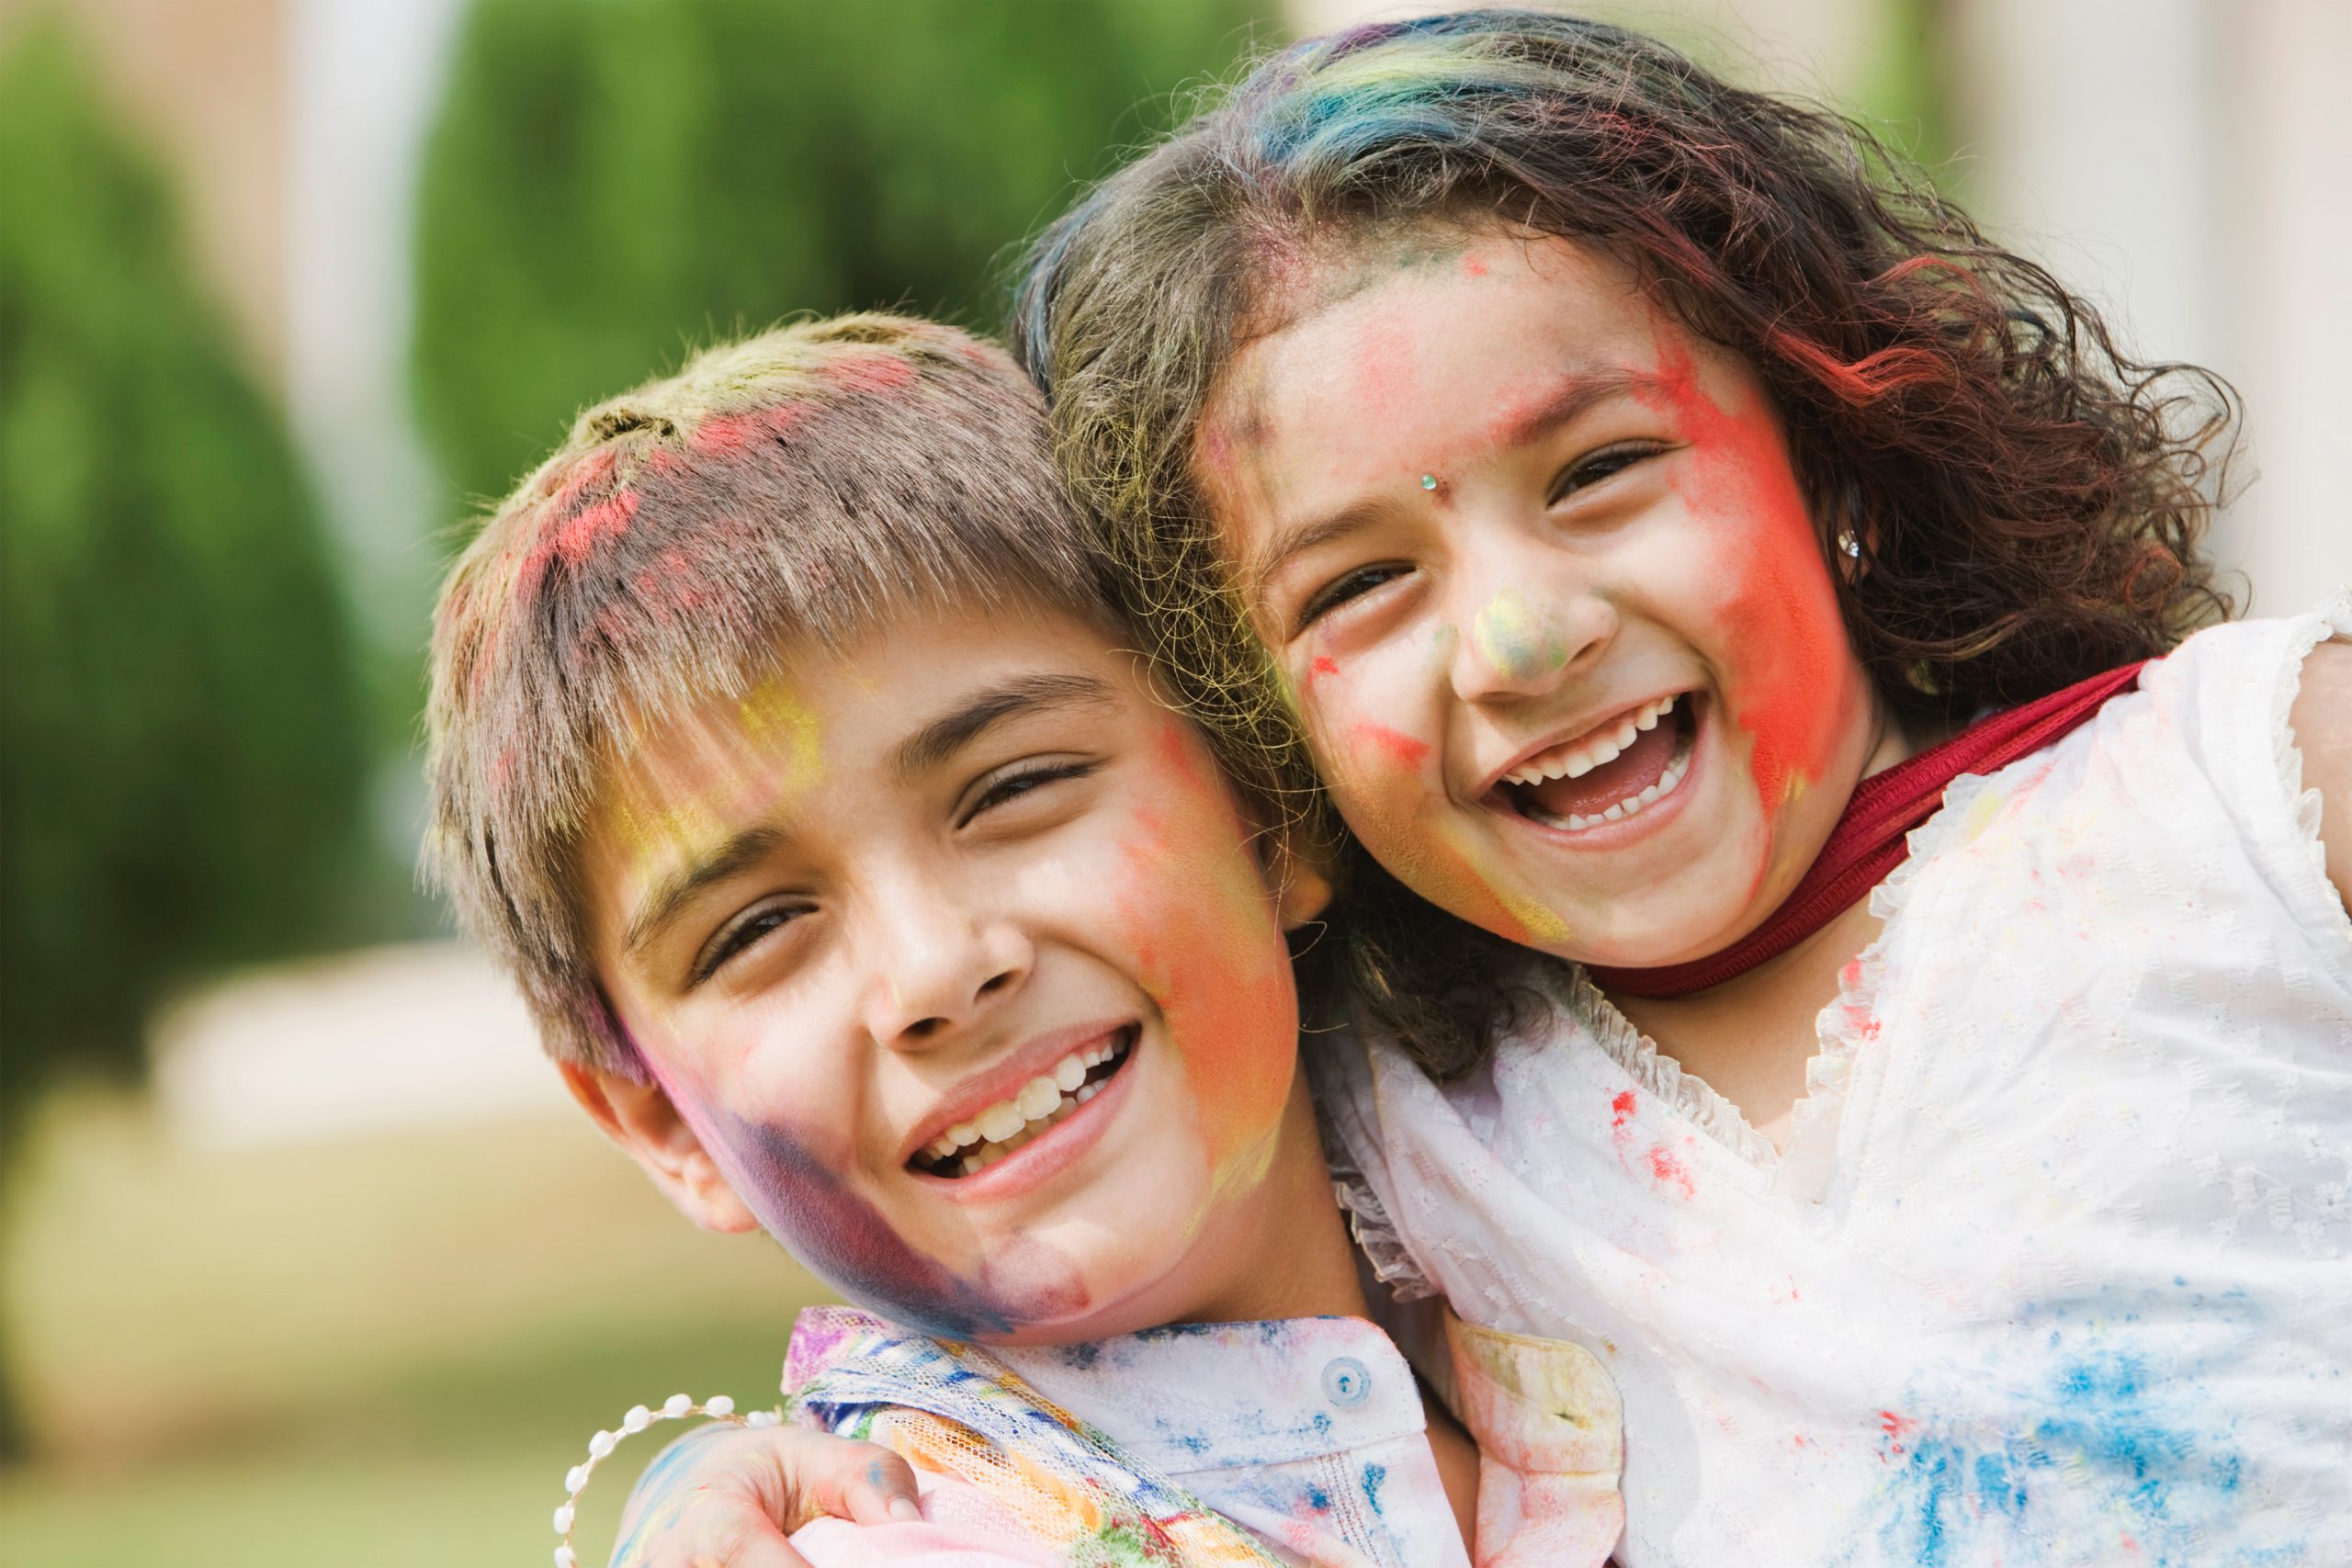

Festival season gives us many opportunities to experiment with fun art and craft ideas for kids and rangoli floor art is a great example of an activity that can be enjoyed by people of any age and ability. Creating rangoli means spending fun, creative time with our children – whatever the time of year. These vibrant designs are usually drawn straight onto the ground or onto paper and coloured in. Here are some tips on how to create a rangoli pattern with your kids.

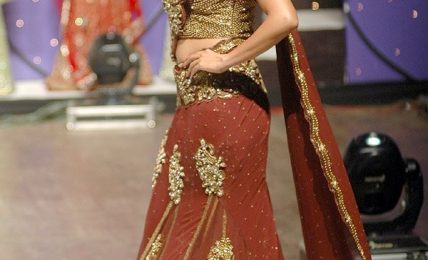
Rangoli is one of India’s foremost craft traditions, which is why it’s an important activity for our children to engage in. Sometimes known by other names – like kolam or muggulu – rangoli are thought to bring good fortune to the household, and also represent a colourful greeting for guests. Though made throughout the year – from Bengal to Tamil Nadu – rangoli are often associated with Divali, when they are symbolically welcome the goddess Lakshmi into the home.
Generally, rangoli are symmetrical and often incorporate geometric elements, as well as organic flower, animal and leaf motifs. More advanced artists may incorporate characters from traditional folk tales or images of the goddess Lakshmi herself. Rangoli can also contain symbols specific to significant family occasions, such as weddings.
Rangoli is a popular activity, so there are many sources of inspiration – both online and in art and design books. Best of all, rangoli can be as simple or as complex as you like – it’s an ideal family activity! Here are a few different approaches.
You can make a simple rangoli design using black paper and coloured chalk or poster paint. For younger children, give grid paper so that they can use the lines as drawing guides. Suggest they use a design that’s mapped out with a dot pattern as they may find it easier to join up the dots.
Once your child has chosen a design, help them sketch it out with a pencil onto a large piece of paper: A2 or bigger is probably best, so that you can include some detail. Very young children may need you to draw the pattern for them. Then trace over the lines with white chalk, so that the outline is easier to follow.
Now it’s colouring time! Use different coloured chalks or paints to fill in the different sections of the design. The beauty of paper rangoli is that they can be transported anywhere, and hung around on walls around the home.
Older children might be more interested in producing rangoli on the ground outside. Traditional textured rangoli are made with anything, from coloured sand to dried foods like lentils and semolina. Many families make their own rangoli colours by mixing rice or flour with natural dyes, such as lavender or ground beetroot. Depending on the materials you use, your design could remain visible for weeks – but remember to take a photo before the rain comes!
Encourage your children to sketch out the design on paper first to determine the exactly layout and motifs. Then suggest they transfer the design to the ground with a piece of chalk. Show your child how to follow the outline with rangoli grains: hold some in your palm and then distribute them by pinching your fingers to drop them slowly onto the pattern. First, go around the outlines, then, fill in the sections. Alternatively, make a paper funnel – it’s a little more accurate.
Tip: To make a textured version that lasts all year and can be hung around the house draw a rangoli design on paper, and then paste on PVA glue section by section, scattering your coloured materials on top. Then, hold up the paper to let any loose grains trickle off. Make sure to put down newspaper, before you start, as this method is pretty messy!
Remember that rangoli fun doesn’t have to stop with the creating the pattern: you can place candles, ornaments, and flowers onto your design to add different dimensions.