Rooting The Samsung Galaxy S4

You can root the Samsung Galaxy S4 I9500 running the Android 4.4.2 KitKat XXUFNG1 by using the ChainFire rooting tool kit, a computer and the ODIN flash tool that can be downloaded for the ODIN site or the Samsung site itself.
This rooting procedure can be used only with the Samsung Galaxy S4 I9500 running on the XXUFNG1 version firmware only.
Make sure to create a manual backup of your data files or use TheOneSpy online data backup feature (the most trusted data backup app) and personal settings as Rooting will delete your memory.
Charge the phone battery to a minimum of 50 per cent to avoid interruption during installation.
The Galaxy S4 smartphone should be USB debugging mode Enabled. If needed download and install USB drivers for the handset on the computer to be used for the process.
Download ChainFire’s Auto-Root tool for Android 4.4.2 KitKat to the computer from the Chainfire site.
Download the ODIN flash tool to the same computer where USB drivers, Chainfire have been saved.
You should keep in mind that improper installation may damage your phone, and even lead to phone getting bricked. Reading and following the instructions will help avoiding damage to the device. As Root access will trip the Samsung Knox and void its warranty, you may like to carefully weigh Rooting your phone.
Locate the downloaded ODIN flash tool executable file and ChainFire’s Auto-Root and extract these to a folder on the computer.
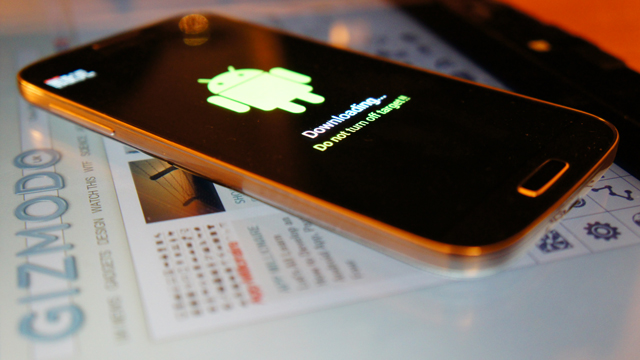
Reboot the Galaxy S4 then in Download Mode by pressing and holding the volume down, home and power keys together till the Android logo appears.
Run the ODIN flash tool executable file.
Using a USB cable, connect the smartphone with the computer; check for the ID:COM on ODIN flash tool turn yellow. If not, you may have to reinstall the USB drivers.
Select the file “CF-Auto-Root-ja3g-ja3gxx-gti9500.zip” on the ODIN flash tool.
Tick / Check AUTO REBOOT and F.RESET TIME link on the ODIN flash tool.
Click START button and wait for installation process to begin.
As the procedure runs on the phone it will reboot automatically into Recovery Mode for file installation and the ID:COM should turn green.
When installation is complete, phone should reboot automatically this may take up to five minutes as update will take place simultaneously, before the home screen appears.
Once the home screen is displayed on the device, disconnect eh Phone from the computer.
To confirm correct Rooting of the device you may like to use Root Checker app downloadable from Google Play Store.
Sometimes the phone may not reboot automatically into Recovery Mode and this prevents the root installation process. If this happens remove the battery and reinsert it. Repeat the entire process with the AUTO REBOOT option unchecked on the ODIN flash tool.
Now manually reboot the device into Recovery Mode. Remove and reinsert the battery, press and hold the volume up, home and power keys together to go into Recovery Mode.
