How To Build A Solar Panel
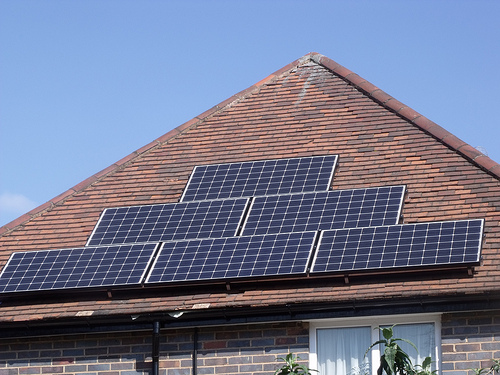

Switching to solar panels can be a huge relief, not just for the environment, but for your wallet as well. The prices of solar panels have dropped drastically, but they can still be expensive. Take matters into your own hands and build the solar panels yourself. You will save money, and be able to create just the size you need.

Here are the basic steps of how to complete this project.
First you will need to get all the material together to begin the project. For the most basic solar panels, you will need:
Out of everything you have to buy, the solar cells are the most important. This is how the solar panel will bring power to your home. If you are looking for the most cost effective and efficient type, consider investing in polycrystalline cells. Research exactly how much you need for your home. Depending on the size, and the energy usage in your home, you may need to get a higher amount. If this is your first solar panel project, buy extra cells, you are likely to break a few in the process.
Measure the plywood board to the right measurements of the cells, making a perfect slot to place them in. You will also need to measure the wire. It will need to connect the cells in long lines, and short lines. Measure these to exact amounts.
Stick the cells on the board with small amounts of glue. The tabbing wire will go single file through each row. At each end, the wire should be free of the space, easy to move around. It is best to have longer and fewer rows than the other way around. This will make the wire easier to use.
Once the wires have been run through, solder the cells together. Take the extra part of the tabbing wire and solder them together along the pad. These should connect the cells together along the way. You should continue making connections until all the rows are pieced together.

The panel that you have already cut out should fit the cells pretty well. You now need to make sides to create a box for the panels to sit in. use deck screws to secure them into place, keeping the panels connected. Use outdoor paint to paint the box whatever color you wish. Your solar panel will be placed in direct line of the elements, make sure to keep it safe from whatever will come its way with a protective coat of paint.
After the paint has dried, you can set the solar panels inside the box. They should fit with very little or no wiggle room, securely in the premeasured space.
Connect the end of your wire that has been strung through the solar cells to the diode. Secure it to the structure with the light colored end pointing toward where you will place the batteries. Connect these wires together.
Put into place the charger controller, with the positive and negative ends lining up. The wires should run straight to this box. If you are using multiple panels, make sure to keep all the same facing wires hooked together. After this has been completed, you can connect the batteries to the panel.
Once the power is working, it is necessary to seal the box to protect the solar cells from the elements. Use the plexiglass cut to the right size to place just over the structure. Make sure to create a lip to slide it under, properly sealing out any moisture. Use screws over the top to keep this in place. The silicone sealant should be used to seal the edges and gaps from water.
Building your own solar panels can be a project worth taking on for many. Not only will it save you money, but you will be able to customize it to exactly fit your needs. Look online to find the solar cells that will work for your home.
License: Creative Commons
image source
License: Creative Commons
image source
By +Cassie Costner
Cassie writes on finding the right electrician in Salt Lake City, UT, and those who are able to set you on the right path to find your solar powered solution. She has written on a number of DIY projects, including how to build a shed, building a deck, and remodeling your kitchen.