A Step-By-Step Guide To Replacing Your Dirty, Dingy Kitchen Windows

Kitchen windows show grime and age faster than windows in the rest of the house because of cooking oils and greases that collect on surfaces. It isn’t noticeable day to day, but over time it will block sunlight and become harder to clean. When you’ve reached the point that a good vinegar and hot water scrub no longer helps brighten your kitchen, it’s time to replace them. It’s not hard to do and you only need a few materials.

You’ll need a hammer, tape measure, screwdriver, caulking gun, drill, utility knife, chisel, square, and pry bar. Make sure your new window, caulk, and shims are on hand too. Some companies, such as Nu-Vue Windows, realize that you should then measure the space for the replacement window. For the width, measure from the inside jamb, side to side, at bottom, middle, and top of window. You’ll use the smallest measurement, though most windows will have the same measurement. For height, go from the top of the sill to the bottom of the head jamb, and likewise take three measurements and use the smallest.
Remove the inside stops and sashes. The outside sash should be removed but the outside stop will remain, to hold the replacement window. Clean the sills and jambs well using hot water and vinegar to cut through the old grease build-up. Fill holes with caulking.
Center sashes in new frame. Center the sashes vertically in the frame, then slide the bumper stops toward frame center so that the side jamb mounting holes are visible. Then place the expander on top and lay more caulk. Place the window and ensure it squares. If not exactly square, shim until it fits correctly. Install the mounting screws in each jamb. Leave them firm but not too tight, so they don’t damage the edges.
Slide the expander up so that any gap between the window and frame are sealed. Then slide both sashes up and down to check for problems; it should flow smoothly. The sashes have built-in adjustment screws to fix the frame into the side jamb. Caulk and reinstall side stops. Caulk the inside of the window and add the side stops back so that the window is properly sealed.
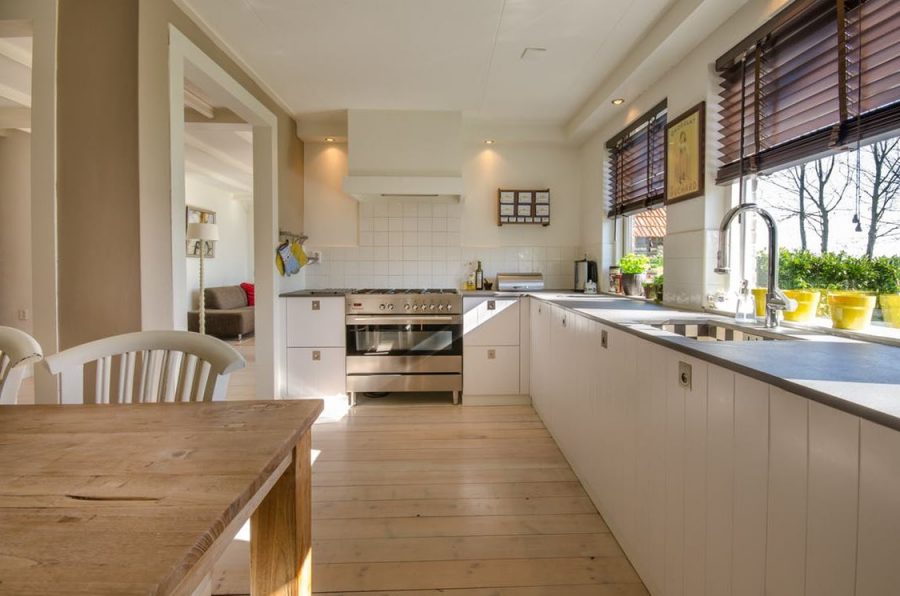
New kitchen windows can change the entire appearance of the room the family spends the most time in, and bright sunlight makes it appear fresh and appealing to all. A free weekend morning will give the facelift the place needs, and regular cleaning will keep the new windows looking good for a long time to come.