<p style="text-align: justify;">Drinking beer is one of the most widespread human activities. Probably next after the instinct for eating and the one for sex, beer consumption is the third most common thing in every part of the developed world. No matter if it is an after-work bottle of beer or an afternoon post-lunch glass of this divine gold drink, beer is always a reliable companion in getting by everyday stress and obstacles. If you are a regular beer consumer, it would be a shame not to go one step further from an average beer drinker; making your own beer. It used to be a real nuisance only a decade ago, but now home brewing equipment and sets are sold at quite affordable prices and one should follow the next steps in order to get to know how to make beer.</p>
<h2 style="text-align: justify;"><b>Get the Foundation Units</b></h2>
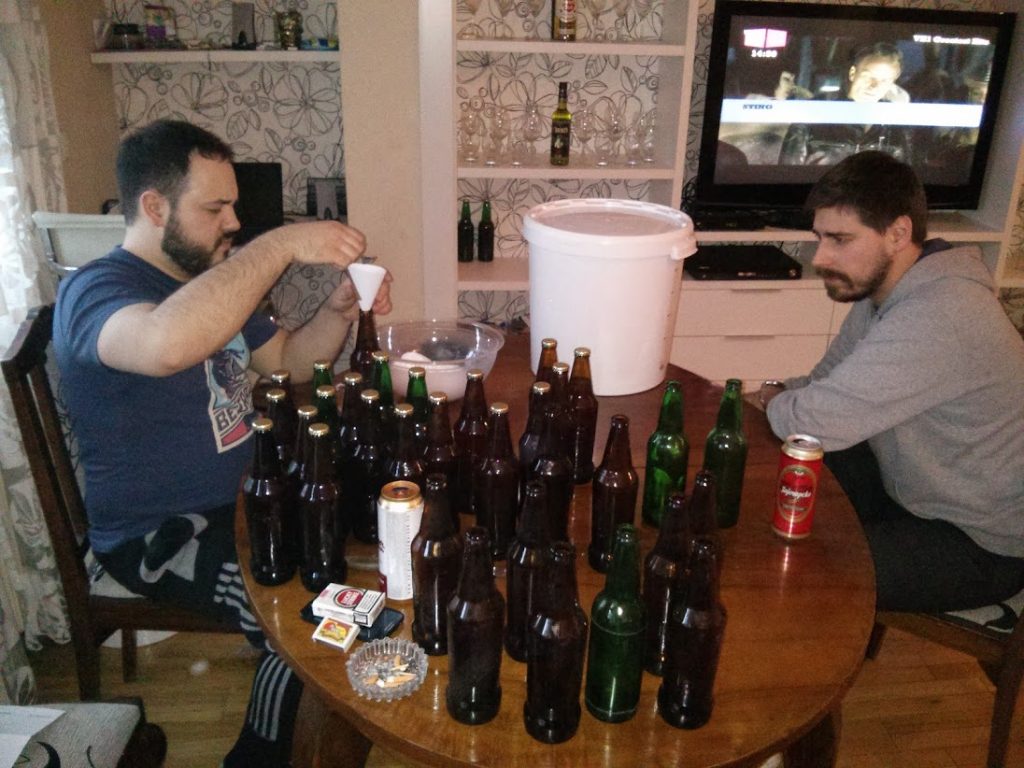
<p style="text-align: justify;">To start producing beer in your kitchen, you need to decide what the initial amount of beer is going to be. On the basis of that estimate, you buy an appropriate pot for beer. Beside that, you have to buy distilled water and several containers smaller than the pot, but larger than bottles. Beer will be kept in these containers during the fermentation process. Finally, the end containers are going to be beer bottles. They are quite cheap and you are going to pour the beer into them once the production is finished.</p>
<p style="text-align: justify;"><img class="aligncenter size-large wp-image-1260" alt="It's Not Impossible - Make Beer In Your Kitchen" src="https://medusamagazine.com/wp-content/uploads/2014/10/homebrewing-1024x768.jpg" width="710" height="532" /></p>
<h2 style="text-align: justify;"><b>Ground Floor – Beer Flavor</b></h2>
<p style="text-align: justify;">While the <i>foundation units</i>, as we have named them, only serve as the liquid base for the beer, it would be nothing if there were not the holy trinity of the beer production process: malt, yeast and hops. They also need to be bought before you start the sole procedure for making home beer, but they are added only later and they actually make beer what it is; they give that special beerytaste, smell and flavor.</p>
<p style="text-align: justify;">The process begins when you start the boiling of malt starch, with the addition of hops in hot water. Hop is the reason why beer is bitter. However, be careful, since the boiling temperature needs to be between 66 and 68 degrees C. So, as the mixture of water, malt and hops (aka wort) reaches the boiling point, the temperature of the mixture needs to be lowered to the desired temperature. That is why it is important to have a kitchen thermometer, as well, as a part of the home-brewing equipment.</p>
<h2 style="text-align: justify;"><b>Final Works – Fermentation and Bottling</b></h2>
<p style="text-align: justify;">After the hot mixture is boiled (and it matters for how long the wort is boiled), it should be cooled as fast as possible, to keep all the flavors of it. The next step is pouring the cooled wort into the middle-sized containers, for the fermentation process. No fermentation is possible is there is no brewing yeast. After the yeast is added to each container, they should be sealed for two or three weeks and locked with an air lock. Finally, after that two or three weeks’ time, the beer is ready for bottling. Avoid twist-off caps, but use regular caps and fix them with a bottle capper.</p>
<p style="text-align: justify;">Making your own beer will make you proud and you are going to enjoy it even more than those mass-produced beers.</p>
<p style="text-align: justify;">About author: Dan Radak is a beer lover, of all sorts, commercial and home brewed beer, he’s also a web writer and co-author on several websites. In his free time, he likes fishing or making homegrown beer. You can reach him on Twitter.</p>

It’s Not Impossible – Make Beer In Your Kitchen
